
Tesla wrap repairs are common due to everyday damage like scratches, dents, and cracks. Home remedies using car polishers treat light scratches, while more severe damages may require professional resin bonding. For minor repairs, gather essential tools and materials; for complex jobs, invest in a comprehensive kit. DIY Tesla wrap repair is affordable for small damages, involving inspection, cutting wrap to size, application, and polishing for a seamless finish.
Tesla owners often face the dilemma of maintaining their vehicle’s sleek look with wraps. This article guides you through the process of repairing Tesla wraps at home, offering a practical solution for common issues. We’ll first explore types of damage and challenges, then equip you with essential tools and materials. Subsequently, we provide a comprehensive step-by-step guide ensuring efficient repairs, empowering you to preserve your Tesla’s aesthetics. Master these techniques, and say goodbye to costly professional repairs!
- Understanding Tesla Wrap Damage and Common Issues
- Tools and Materials Required for Repair at Home
- Step-by-Step Guide to Efficient Tesla Wrap Repair
Understanding Tesla Wrap Damage and Common Issues
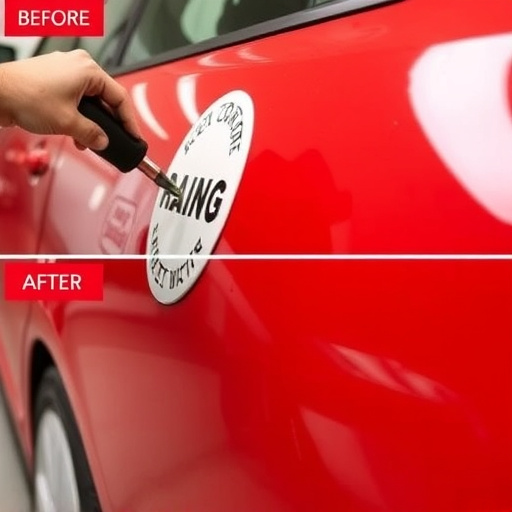
Tesla wraps are known for their sleek and protective design, but like any vehicle’s exterior, they can suffer damage from everyday use and unexpected incidents. Understanding common Tesla wrap issues is crucial before attempting any DIY repairs or seeking professional help. One of the most frequent problems is minor scratches and dents, often caused by flying debris, car washes, or parking in tight spaces. These can typically be addressed with over-the-counter car polishers and compounds, which are relatively easy to use at home.
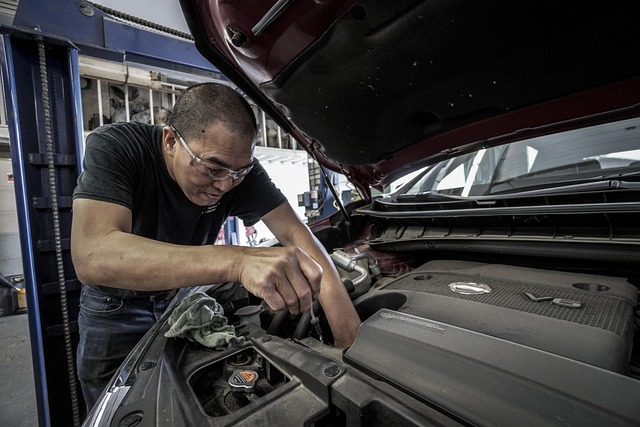
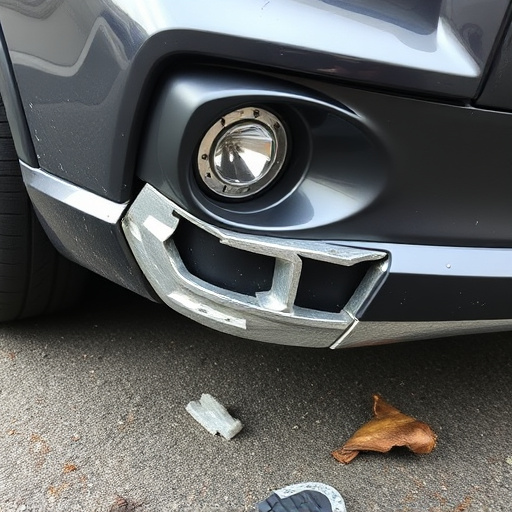
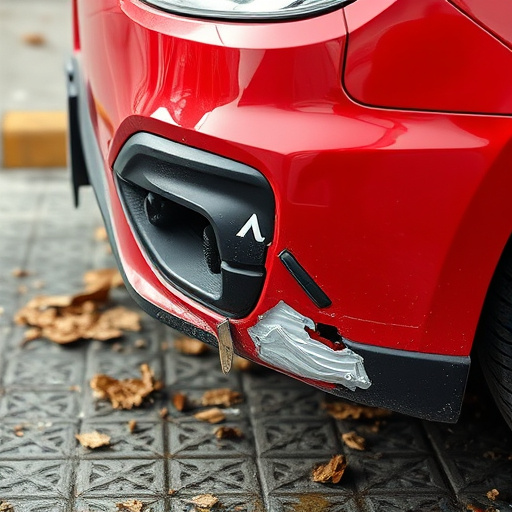
Another prevalent concern is chip damage or small cracks on the wrap’s surface, frequently the result of a fender bender or accidental bumps. While these minor flaws may not affect the vehicle’s structural integrity, they can impact its overall aesthetics. Professional Tesla bodywork services often employ special repair techniques for such damages, including resin bonding and clear coating. However, with the right tools and guidance, dedicated owners might be able to conduct basic car paint repairs on their wraps at home, extending their lifespan and maintaining a like-new appearance.
Tools and Materials Required for Repair at Home

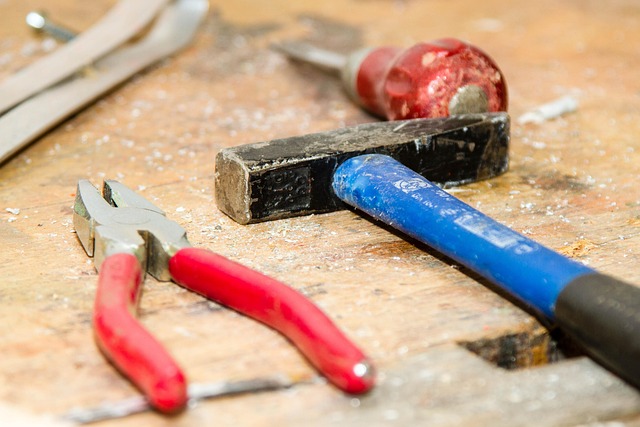
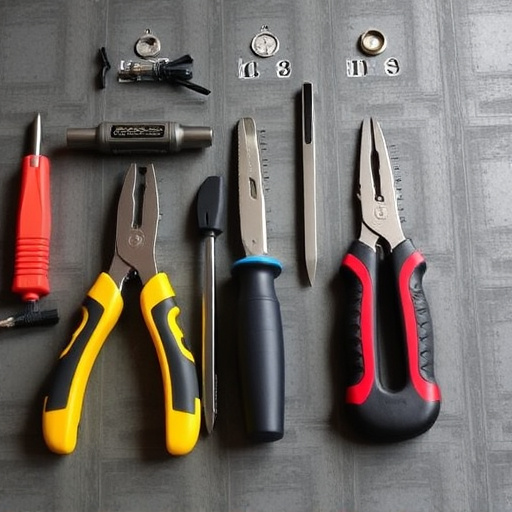
To tackle a Tesla wrap repair at home, you’ll need a few specific tools and materials. Start with essential items like a set of precision scissors or a utility knife for cutting and trimming, along with some high-quality automotive-grade tape designed for vehicle wraps. A soft cloth or sponge and a bucket of soapy water are crucial for cleaning the damaged area thoroughly without causing further harm to the wrap.
For more complex repairs, especially following a fender bender, you might need specialized tools such as a heat gun for reshaping the wrap and ensuring a smooth finish, along with various sizes of applicators or rollers designed for wrap installations. If managing a fleet of luxury vehicles is part of your repair services, consider investing in a kit that includes all necessary components to handle multiple Tesla wrap repairs efficiently.
Step-by-Step Guide to Efficient Tesla Wrap Repair
Repairing a Tesla wrap at home can be a cost-effective solution for minor damages. Here’s a step-by-step guide to help you achieve efficient results:
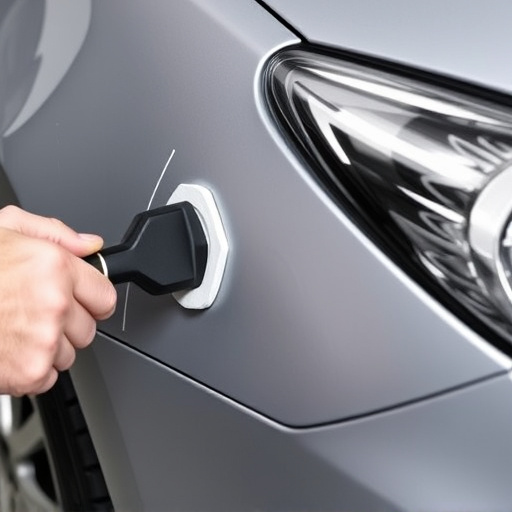
1. Inspect and Prepare: Begin by thoroughly inspecting the damaged area. If it’s a small dent or scratch, ensure the surface is clean and dry. For larger repairs, consider using a dent puller tool to gently remove the dented panel, as this will make the wrap easier to apply later.
2. Gather Materials: You’ll need high-quality Tesla-specific wrap material, a sharp knife or scissors for cutting, and a variety of tools like a heat gun (for warming the wrap), a roller (to ensure even application), and a clean cloth for polishing. For more complex repairs, you might also require a priming agent to ensure better adhesion.
3. Prepare the Wrap: Cut the Tesla wrap material to match the size of the damaged area. Use your tools to warm the wrap slightly, making it pliable but not too soft. Ensure the wrap is free from any bubbles or wrinkles before proceeding.
4. Apply and Smooth: Position the wrap over the damaged area, starting from one edge and working your way around. Use the roller to smooth out any air bubbles or wrinkles, ensuring a tight fit. Be careful not to stretch the wrap excessively, as it can affect its integrity.
5. Secure and Polish: Once the wrap is in place, use a clean cloth to gently polish the area, removing any excess material and achieving a seamless finish. Allow the wrap to cool down before driving or subjecting it to extreme temperatures.
While repairing a Tesla wrap at home is feasible with the right tools and guidance, it’s essential to assess the damage. Simple repairs like small tears or scratches can be handled using specialized adhesives and wraps, available for DIY enthusiasts. However, more complex issues may require professional attention due to the vehicle’s intricate design and material. With the right approach, Tesla owners can save costs and maintain their car’s aesthetic appeal through prompt repair or seeking expert help when needed.