
Tesla wrap offers excellent protection but is susceptible to damage over time due to environmental factors and wear. Regular maintenance, prompt repairs for minor issues, and proper installation techniques with high-quality materials can extend its lifespan, saving money on car dent repairs. Prepare workspace, use correct tools, and meticulously apply new wrap to achieve professional Tesla wrap repair.
Looking to fix that scuffed or damaged Tesla wrap yourself? This guide will walk you through the process, from identifying common issues like scratches and bubbles to gathering the right materials for a professional-grade repair. We’ll provide a detailed, step-by-step approach, ensuring your Tesla’s wrap looks as good as new. Achieve flawless results with our expert tips tailored for DIY enthusiasts aiming to master Tesla wrap repair.
- Understanding Tesla Wrap Damage and Common Issues
- Gathering Materials for Effective DIY Repair
- Step-by-Step Guide to Achieving Professional Results
Understanding Tesla Wrap Damage and Common Issues
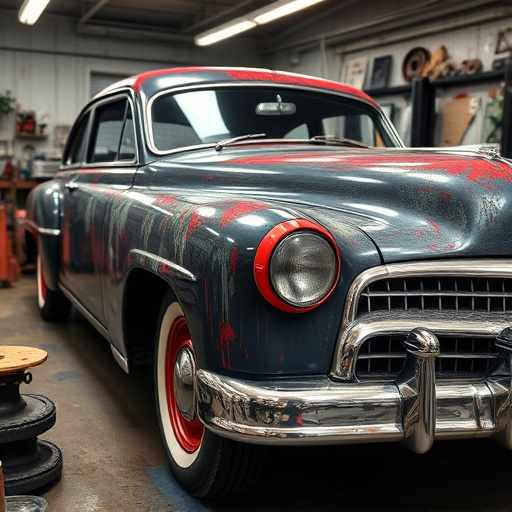
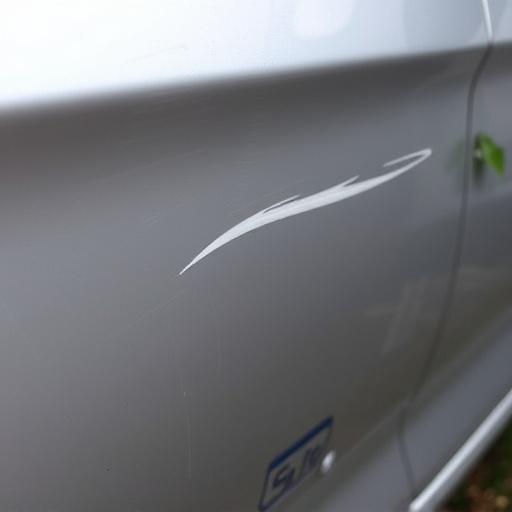
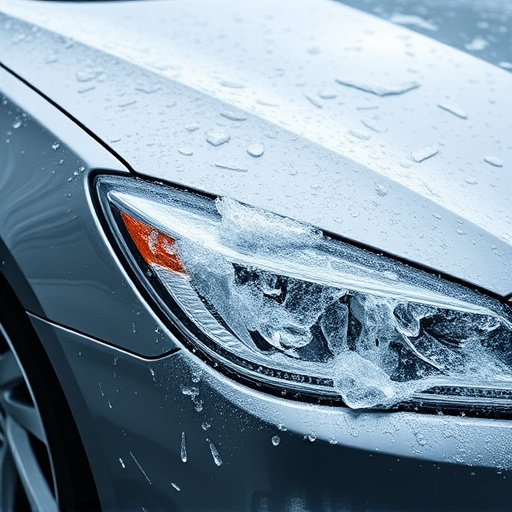
Tesla wraps are known for their sleek, protective coating, but over time, they can develop various issues. Understanding these common problems is the first step in achieving professional-looking repairs. One of the most frequent issues is minor cracks or tears in the wrap, often caused by environmental factors like tree sap, bird droppings, or even small debris hitting the surface during parking. These damages can compromise the integrity of the wrap, leading to further deterioration if left unattended.
Another typical concern is peeling or bubbling of the wrap, which may result from improper installation, exposure to extreme temperatures, or normal wear and tear. Auto body repairs for Tesla wraps often involve precise techniques to blend new material with the existing finish seamlessly. Proper maintenance, including regular washing and inspecting for any signs of damage, can significantly extend the life of the wrap and prevent more costly car dent repair down the line.
Gathering Materials for Effective DIY Repair
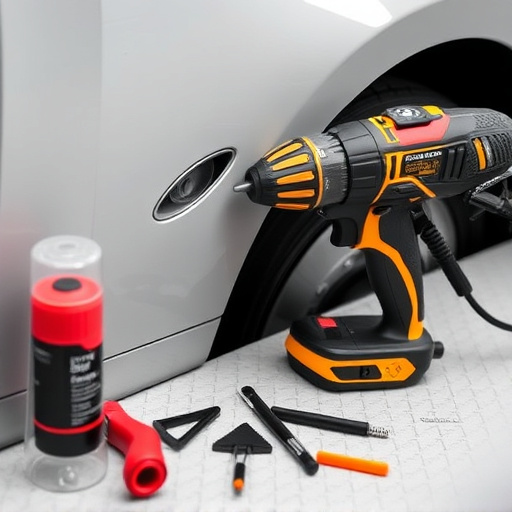
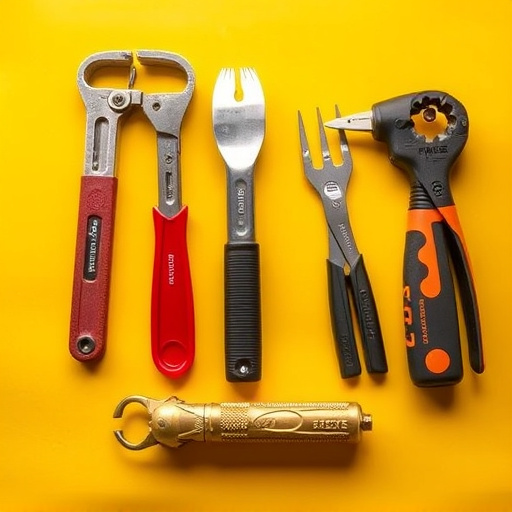
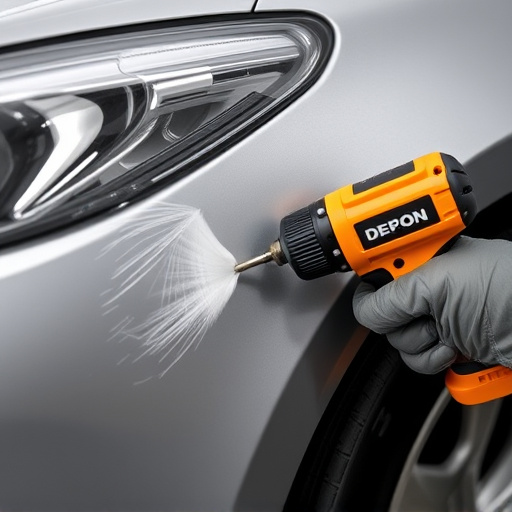
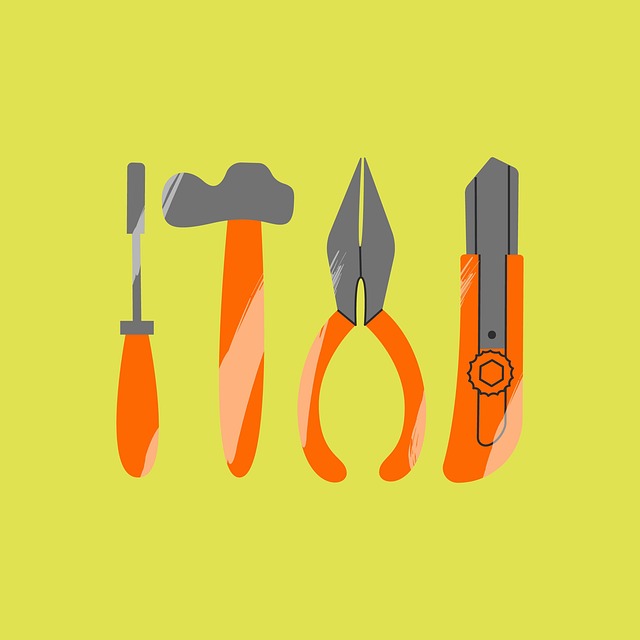
Before starting any DIY Tesla wrap repair, it’s crucial to gather the right materials. For an effective and professional-looking result, you’ll need high-quality automotive wrap film specifically designed for Teslas or similar electric vehicles. Don’t forget to invest in good-quality tools like a sharp knife for cutting the wrap, a roller for smoothing it out, and a clean cloth for removing any debris or air bubbles. Additionally, having a reference image of the original wrapping can be helpful as a guide during the repair process, ensuring a seamless match with your Tesla’s existing color and finish.
Another essential aspect is preparing your workspace. Park your Tesla in a shaded area to prevent the wrap from drying too quickly, which could lead to wrinkles or bubbles. Cover the surrounding areas with drop cloths to protect them from scrapes or stains. Remember, proper preparation ensures that your DIY Tesla wrap repair not only looks good but also lasts longer, rivaling the results you’d get from professional collision repair services. Consider it an investment in maintaining your car’s stunning aesthetic appeal, minimizing the need for frequent hail damage repair or car collision repair down the line.
Step-by-Step Guide to Achieving Professional Results
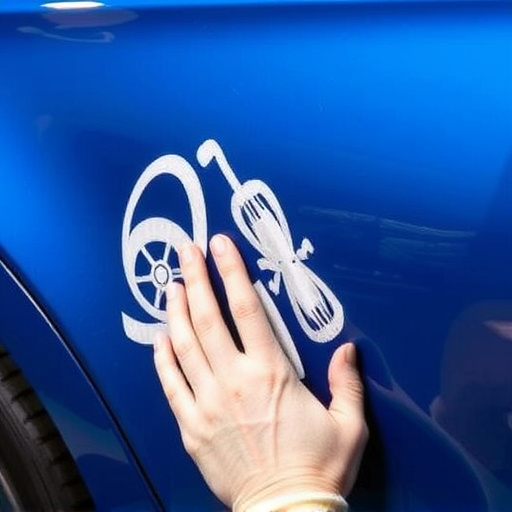
Achieving professional results for your Tesla wrap repair doesn’t have to be a daunting task. Start by gathering all necessary materials, including a high-quality car wrap film specifically designed for Teslas, a clean surface, and essential tools like cutting tools, adhesive, and applicator cards. Prepare the area around the damaged section, ensuring it’s free from dust and debris. This meticulous preparation is crucial for achieving a seamless finish.
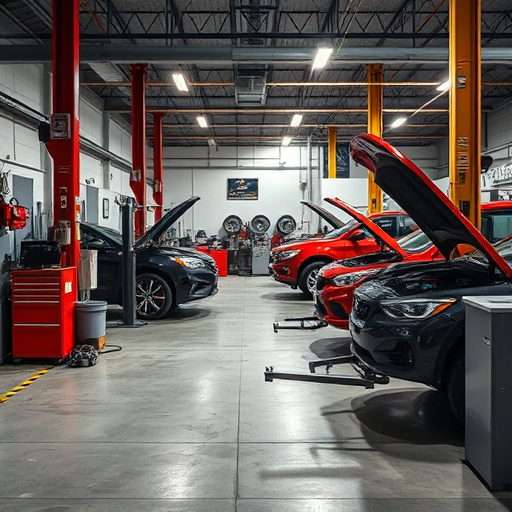
Next, carefully apply the wrap film, following the manufacturer’s instructions. Ensure proper alignment and smooth out any bubbles or wrinkles using the applicator cards. For precise cuts, use templates or guides designed for Teslas to maintain the vehicle’s original aesthetic. Finally, allow adequate time for the adhesive to cure completely before driving. Regularly checking local auto repair shops near you for expert guidance can also be beneficial, especially when dealing with complex repairs like Tesla wraps.
DIY Tesla wrap repair can be achieved with the right tools and a step-by-step guide, offering professional results without breaking the bank. By understanding common damage types and gathering necessary materials, you’re well on your way to restoring your Tesla’s exterior. Follow the provided step-by-step guide for a successful DIY endeavor, saving costs while maintaining high-quality standards in your Tesla wrap repair.