
Tesla wrap repair protects and enhances exterior using durable vinyl/polymer compounds, safeguarding against UV damage, bird droppings, tree sap, and minimizing disruption compared to traditional paint jobs. Regular washing helps prevent damage, but professional repairs are needed for effective solutions. Proper techniques, including material gathering, cleaning, trimming, application, and heat use, ensure flawless results, maintaining vehicle aesthetics and resale value.
New Tesla owners, protect your vehicle’s stunning exterior with our comprehensive guide to Tesla wrap repair. Discover the benefits of automotive wraps—a durable, protective layer that enhances your car’s aesthetics. Learn about common damage like scratches and chips and master a simple step-by-step repair process for spotless results. Keep your Tesla looking new with expert tips tailored for owners. Dive into this essential guide for all things Tesla wrap repair.
- Understanding Tesla Wrap: Materials & Benefits
- Common Wrap Damage: What New Owners Should Know
- Step-by-Step Repair Guide for Spotless Results
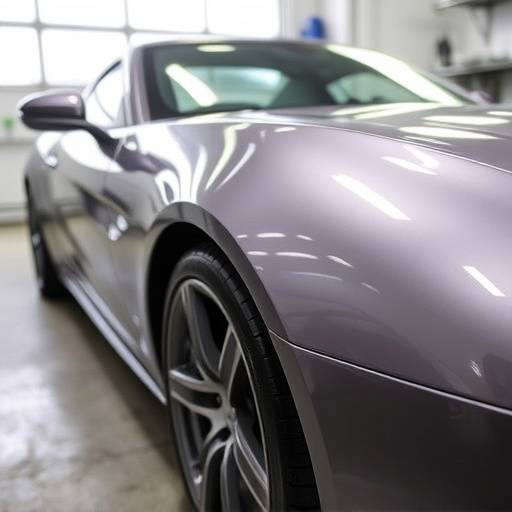
Understanding Tesla Wrap: Materials & Benefits
Tesla wrap is a cutting-edge protection for your vehicle’s exterior, designed specifically for Tesla owners who want to preserve their cars’ pristine looks and enhance their overall value. It’s more than just a regular paint job; it’s a layer of durable, scratch-resistant material that can withstand the rigors of everyday driving while keeping your Tesla looking like new. The wrap is made from high-quality vinyl or polymer compounds, offering both aesthetic appeal and practical benefits.
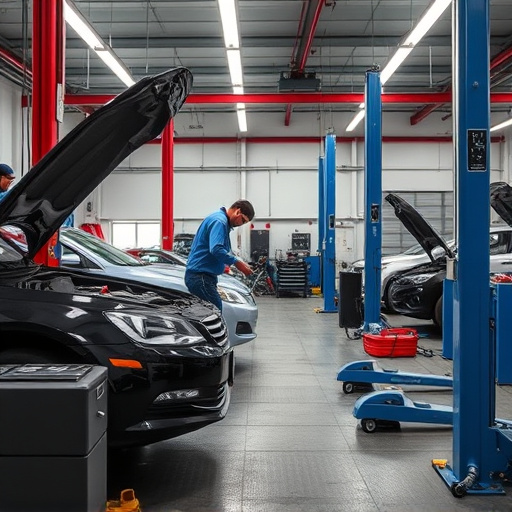
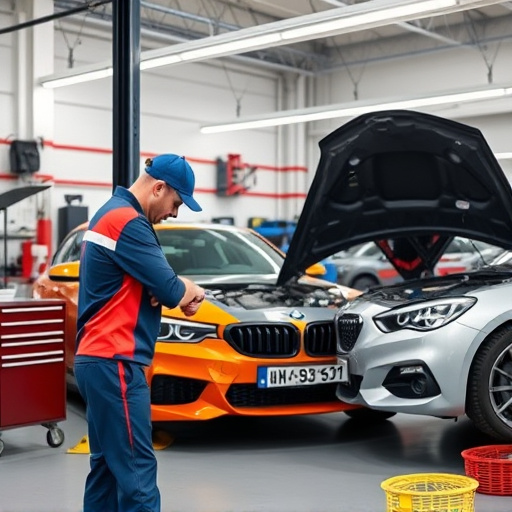
One of the key advantages of Tesla wrap repair is its ability to protect the paint job from UV damage, bird droppings, tree sap, and other environmental contaminants that can degrade the exterior over time. Unlike a traditional car body shop paint job, which might require more aggressive sanding and repainting, wrap repair can be done in a fraction of the time with minimal disruption to your vehicle. This makes it an attractive option for owners who want to avoid the hassle and cost of frequent visits to a vehicle body shop or paintless dent repair services, keeping their Tesla looking flawless without extensive maintenance.
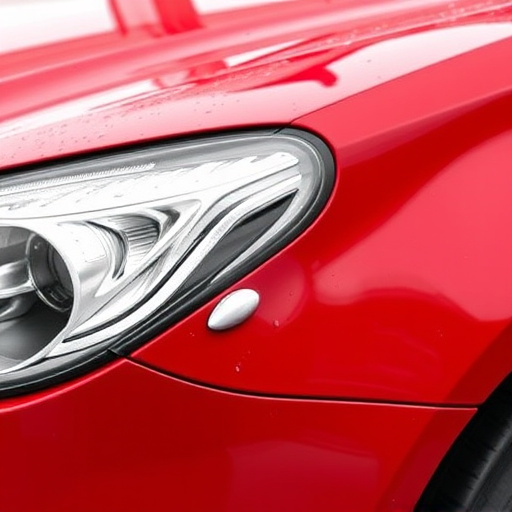
Common Wrap Damage: What New Owners Should Know
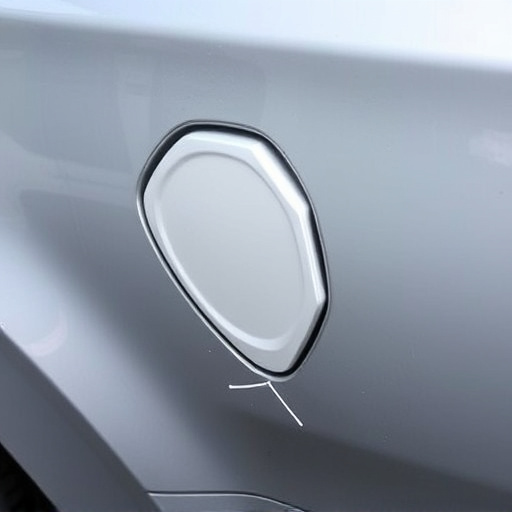
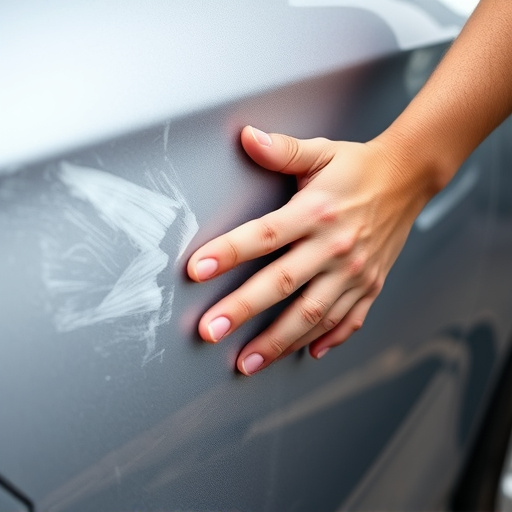
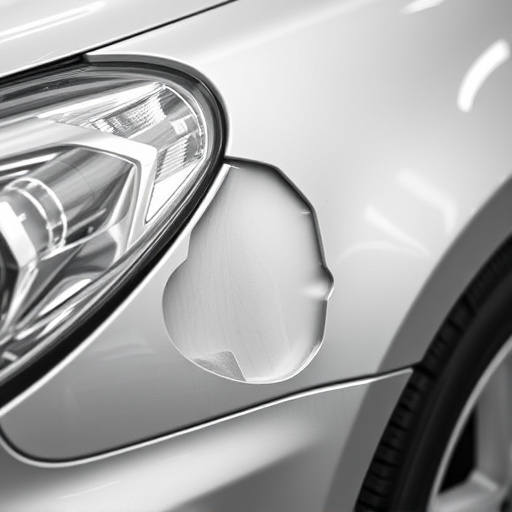
New Tesla owners often marvel at their car’s sleek, futuristic design and cutting-edge technology. However, they should also be aware of potential damage to their vehicle’s wrap—a common issue that requires attention. Common causes of wrap damage include minor scratches, chips, and dents from everyday driving, such as road debris, parking lot mishaps, or even a simple car wash if not done properly. These may seem like minor inconveniences, but they can affect the overall aesthetics of your Tesla’s exterior.
Regular washing techniques and thorough drying can prevent some damage, but over time, these issues will likely require professional intervention for effective Tesla wrap repair. Many new owners underestimate the importance of prompt action when addressing these problems, assuming they are merely cosmetic. However, neglecting these repairs can lead to more significant and costly issues down the line, impacting both your car’s appearance and its resale value. Thus, it’s crucial to familiarize yourself with potential wrap damage and have a trusted car body shop on hand for timely repairs.
Step-by-Step Repair Guide for Spotless Results
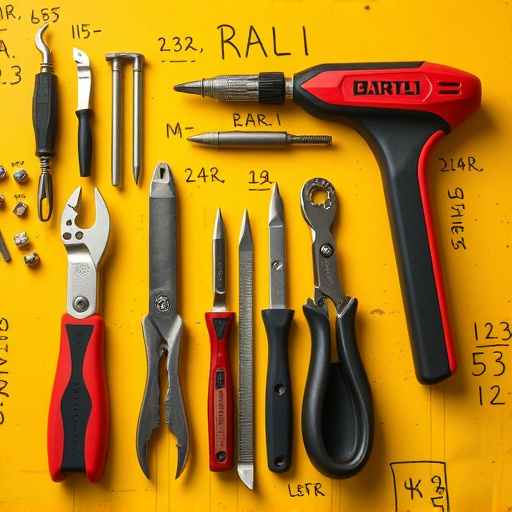
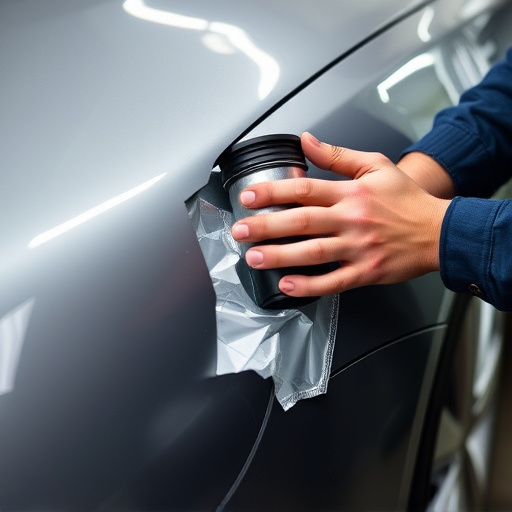
Repairing your Tesla’s wrap is an essential part of maintaining its sleek and protected exterior. Here’s a step-by-step guide to help new Tesla owners achieve spotless results, ensuring their vehicle stands out in the crowd. Start by gathering all necessary tools and materials—this includes a high-quality Tesla-approved wrap film, applicator tools like a roller or blade, and a clean, dry surface. Begin by cleaning your car thoroughly to remove any dirt or debris that could compromise the adhesion of the wrap. Next, prepare the wrap by trimming it to size using sharp scissors or a cutter, ensuring precise fitment.
Apply the wrap starting from one edge, smoothly working across the surface with minimal bubbles or wrinkles. Use heat guns sparingly to ease the wrap into tight corners; over-heating can damage the film. For a professional finish, consider using a vacuum bag for a seamless, bubble-free result. Remember, patience is key during installation. With proper preparation and technique, your Tesla’s wrap repair will not only enhance its aesthetics but also protect its valuable paintwork—a far cry from the stress of finding an auto repair near me or fleet repair services for similar work.
As new Tesla owners, learning about and understanding your car’s unique features, like the Tesla wrap, is essential. By familiarizing yourself with the materials and benefits it offers, you can better protect your vehicle from common damage. Following our step-by-step guide ensures a successful DIY repair, allowing you to maintain the spotless, sleek look of your Tesla. Equip yourself with the knowledge and tools for effective Tesla wrap repair, ensuring your vehicle stands out not just in performance but also in preservation.