

Tesla wrap damage varies from minor scuffs to severe dents and tears, categorized as cosmetic (small) or structural (large). Accurately identifying damage type is key for choosing repair methods – DIY or professional services. Professional repairs require specialized tools and high-quality materials to meet Tesla's standards, ensuring perfect adhesion and aesthetics. Simple DIY steps involve inspecting, preparing, cutting out damaged wrap, applying adhesive, securing it, cleaning, and addressing gaps with auto painting if needed.
Looking to fix your Tesla’s damaged wrap like a pro? This comprehensive guide is your go-to resource. We’ll walk you through understanding wrap damage, from identifying causes and common types to gathering the right tools and materials for an expert repair. Then, we’ll provide a step-by-step process ensuring your Tesla’s wrap looks as good as new. Conquer wrap repairs with confidence – it’s easier than you think!
- Understanding Tesla Wrap Damage: Causes and Types
- Tools and Materials for Professional Repair
- Step-by-Step Guide to Effective Tesla Wrap Repair
Understanding Tesla Wrap Damage: Causes and Types
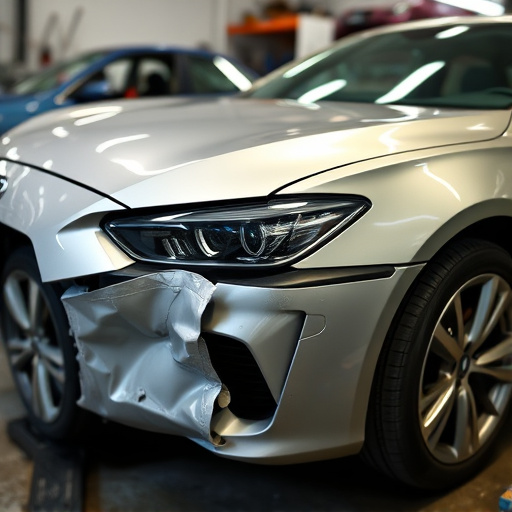
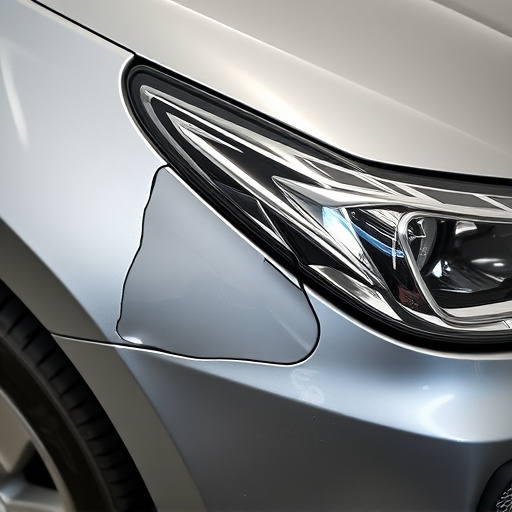
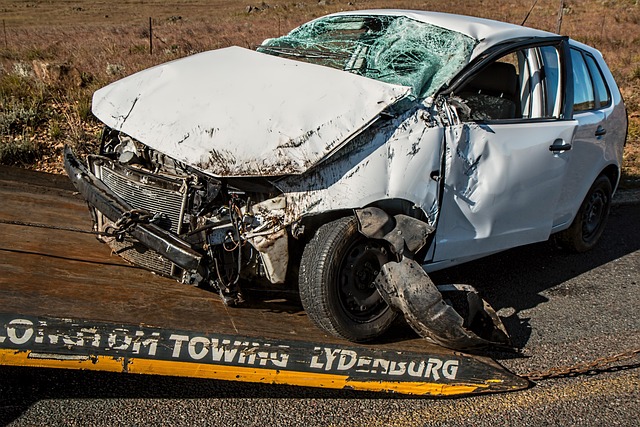
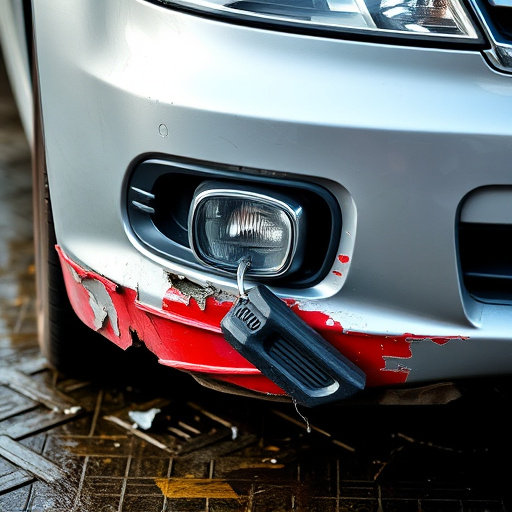
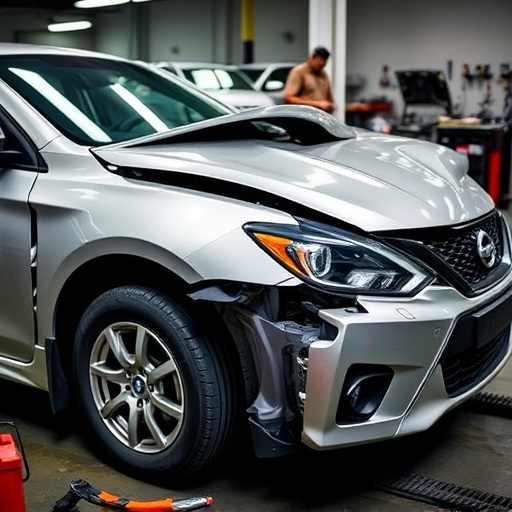
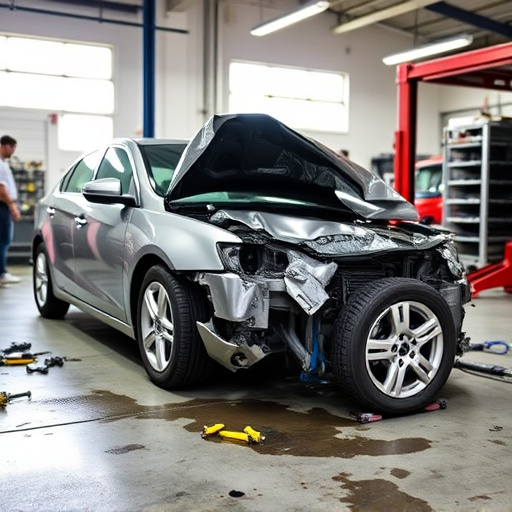
Tesla wrap damage can manifest in various forms, from minor scuffs and scratches to more severe dents and tears. Understanding the causes and types is crucial for effective Tesla wrap repair. One common cause is everyday wear and tear, such as shopping cart handles scraping against the car or minor bumps during parking. Another frequent culprit is bird droppings, which can etch into the wrap if left untreated.
There are two primary types of Tesla wrap damage: cosmetic and structural. Cosmetic damage includes small scratches, chips, and swirls, while structural damage involves larger dents, delaminations (where the top layer separates from the base), or even complete tears in the wrap material. Recognizing these differences is key to selecting the right repair approach, whether it’s a DIY fix or enlisting the help of a professional fleet repair service or collision center for more extensive car repair shop work.
Tools and Materials for Professional Repair
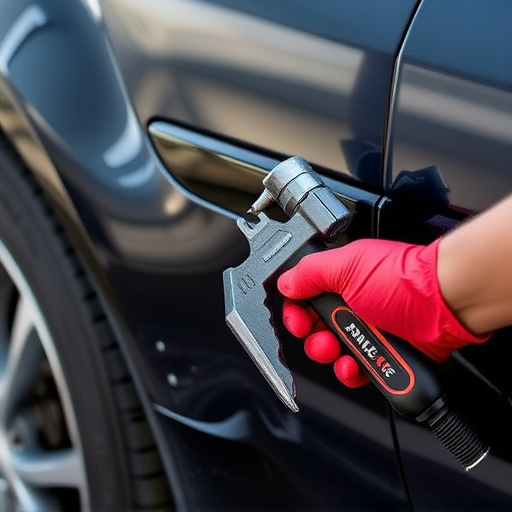
Professional Tesla wrap repairs require a specific set of tools and materials designed to match the high standards of the original manufacturer. For an effective car body repair, you’ll need top-quality paint and wrapping products tailored for electric vehicles. This includes specialized adhesives, primers, and paints that adhere perfectly to the unique surface of Tesla vehicles, ensuring a seamless finish that matches the original wrap.
Additionally, invest in high-end tools like precision knives, applicators, and rollers designed for precise, even application. Quality materials and tools make all the difference in achieving an impeccable car bodywork services result, restoring your Tesla’s protective exterior without compromising its aesthetic appeal. Remember, a professional-grade repair job not only enhances the vehicle’s appearance but also protects its surface from future damage, maintaining its value over time.
Step-by-Step Guide to Effective Tesla Wrap Repair
Repairing Tesla wrap damage doesn’t have to be a daunting task. With the right tools and techniques, you can restore your vehicle’s sleek and protective exterior layer like a pro. Here’s a step-by-step guide for effective Tesla wrap repair:
1. Inspect and Prepare: Carefully assess the damaged area. Remove any loose debris from the wrap using a soft brush or air compressor. Clean the surface with a mild soap and water solution to ensure proper adhesion. Dry thoroughly before proceeding.
2. Cut Out Damaged Material: Using precision scissors or a utility knife, carefully cut out the damaged portion of the Tesla wrap. Be sure to follow the curve of the vehicle for a seamless fit when replacing the piece.
3. Prepare New Wrap Piece: Measure and cut a new piece of Tesla wrap to match the size of the damaged area. Ensure it’s a perfect fit before proceeding to the next step.
4. Apply Adhesive: Spread a thin layer of high-quality automotive adhesive along the edges of both the new wrap piece and the vehicle’s surface where it will be applied. Allow the adhesive to set for the recommended time by the manufacturer.
5. Secure and Smooth: Once the adhesive is ready, press the new wrap firmly into place, starting from one edge and working your way around the entire perimeter. Use a smooth, flat tool to eliminate any air bubbles and ensure complete contact between the wrap and the vehicle’s body.
6. Clean and Paint (if necessary): After the wrap has fully cured, clean the area thoroughly to remove any adhesive residue. If the repair leaves a visible gap or mark, consider using auto painting services for a seamless finish.
Repairing Tesla wrap damage doesn’t have to be a daunting task. By understanding the different types and causes, along with the right tools and materials, you can achieve professional results. Following our step-by-step guide will equip you to tackle minor issues and even complex repairs, ensuring your Tesla’s exterior looks as good as new. With some patience and practice, you’ll become a pro at Tesla wrap repair, saving time and money while maintaining the vehicle’s sleek aesthetic.