

Tesla wrap repair involves meticulous restoration of damaged vehicle wraps using high-quality authentic Tesla materials and professional-grade adhesives. Skilled technicians inspect, blend, trim, and seal for seamless integration with existing paintwork, ensuring aesthetic appeal and enhanced durability. Complex projects require expert assistance from experienced vehicle repair services.
“Experience a seamless return to your vehicle’s original beauty with our guide on Tesla wrap repair. This comprehensive article navigates the process of repairing and matching the unique design of Tesla wraps, addressing common damage. We demystify the art of choosing the ideal materials for a flawless finish.
From understanding wrap damage to mastering professional repair techniques, this step-by-step guide equips you with the knowledge for a successful DIY or professional Tesla wrap restoration, ensuring your vehicle stands out in the hustle and bustle.”
- Understanding Tesla Wrap Damage and Its Repair Process
- Choosing the Right Materials for a Perfect Match
- Step-by-Step Guide to Professional Wrap Repair Techniques
Understanding Tesla Wrap Damage and Its Repair Process
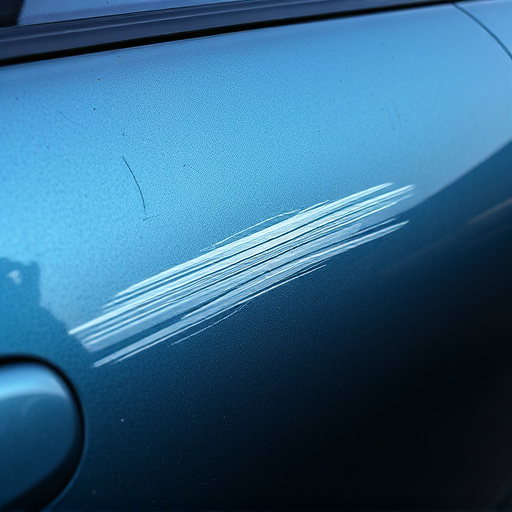
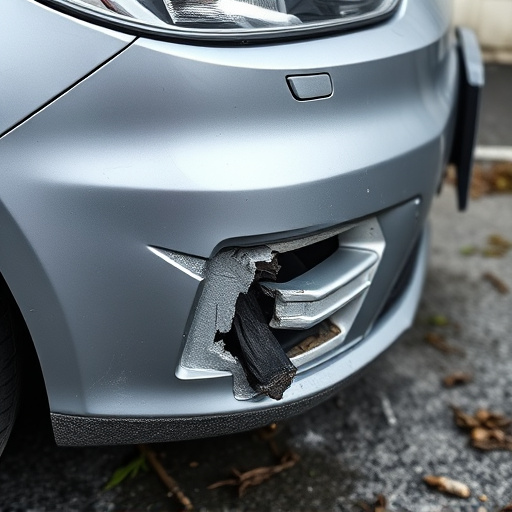
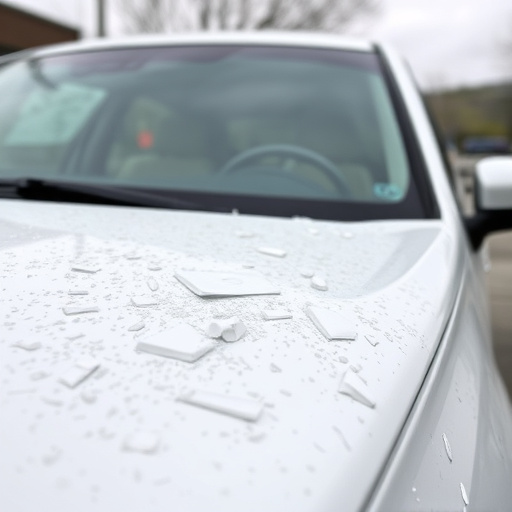
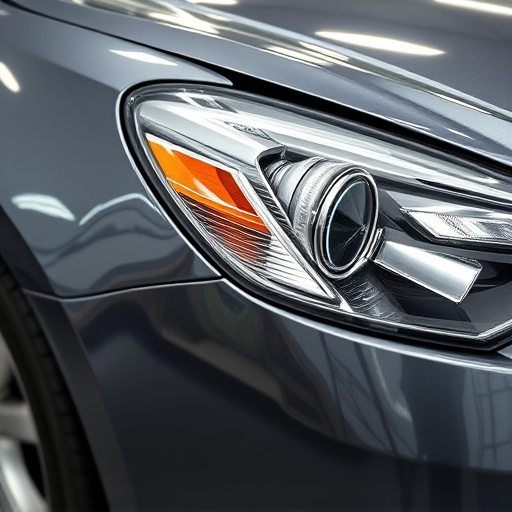
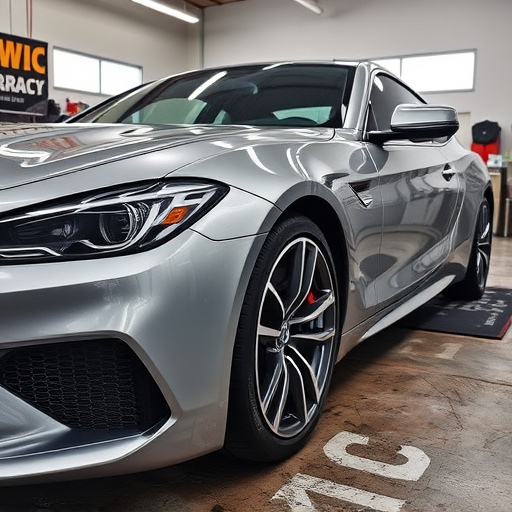
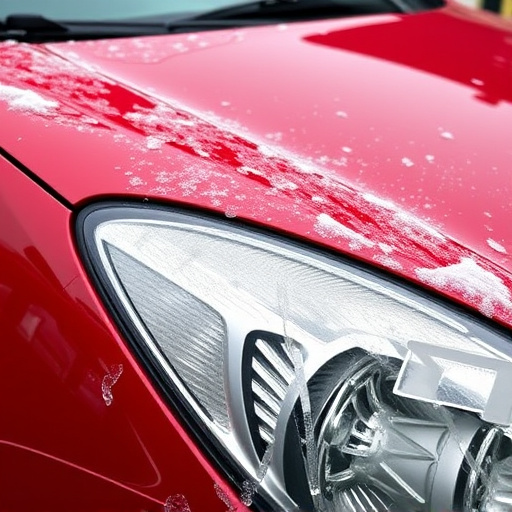
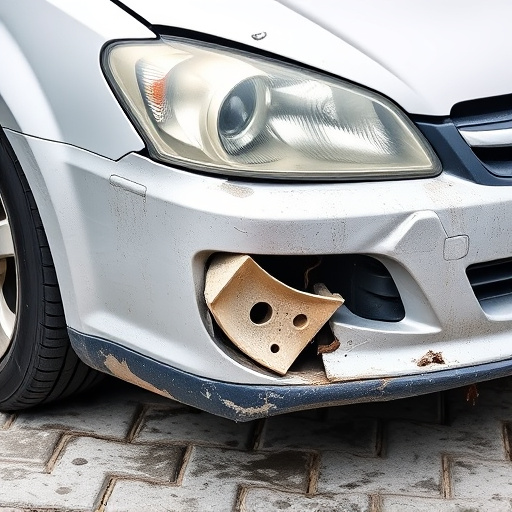
Tesla vehicles are renowned for their sleek and modern design, often featuring unique wrap or paint jobs that set them apart from other cars on the road. However, even with meticulous care, these intricate wraps can sustain damage due to various factors such as minor crashes, bird droppings, or careless handling. When a Tesla owner notices damage to their vehicle’s wrap, it’s crucial to understand that proper repair is essential not just for aesthetics but also for maintaining the car’s value.
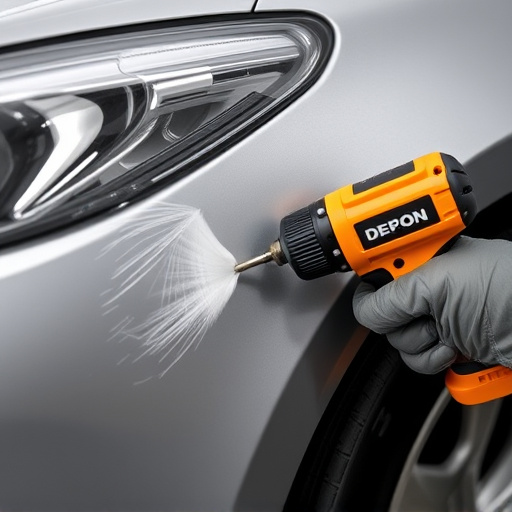
Tesla wrap repair is a specialized process that involves skilled technicians who meticulously assess and match the original design. The repair center will first inspect the damaged area to determine the extent of the harm. This may include removing affected sections, sanding down imperfections, and applying new layers of protective coating to ensure color accuracy and longevity. The goal is to restore the wrap to its pristine condition, seamlessly integrating any repaired areas with the existing design, much like a master artist blending colors on a canvas.
Choosing the Right Materials for a Perfect Match
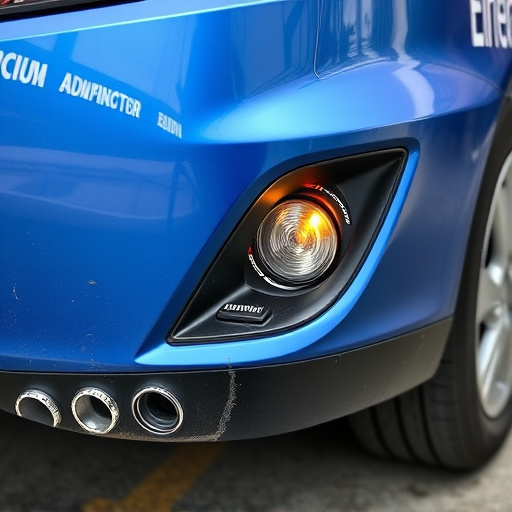
When undertaking a Tesla wrap repair that aims to match the original design, selecting the appropriate materials is paramount. This involves choosing high-quality car wraps that closely resemble the vehicle’s factory finish in terms of color and texture. Reputable auto repair shops offering Tesla wrap repair services often have access to an extensive range of top-tier automotive wraps designed specifically for electric vehicles like Teslas.
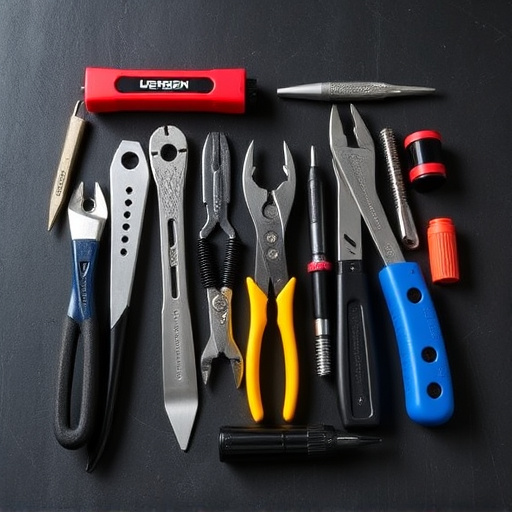
Moreover, the right adhesives and application tools are crucial for achieving a seamless finish. Using the correct adhesive ensures the wrap adheres securely to the car’s surface without bubbles or gaps. Specialized application tools, such as precision knives and air guns, help in applying the wrap evenly, resulting in a professional and perfect match, indistinguishable from the original design. Opting for these superior materials can be key when sourcing an auto repair near you or considering automotive repair services, ensuring your Tesla retains its distinctive aesthetic appeal.
Step-by-Step Guide to Professional Wrap Repair Techniques
Professional Tesla wrap repair requires a meticulous approach to match the original design perfectly. Here’s a step-by-step guide to help you achieve that:
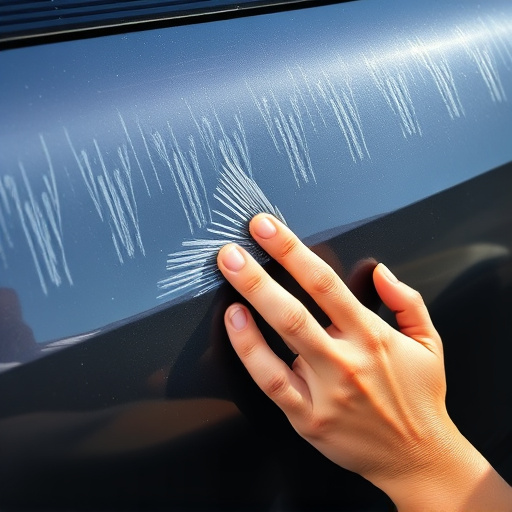
1. Preparation: Begin by thoroughly cleaning and inspecting the damaged area of your Tesla. Remove any debris or loose parts, ensuring the surface is free from oils and contaminants. This step is crucial for achieving a seamless finish during the repair process.
2. Choose the Right Wrap Material: Select a high-quality wrap material that closely matches the original color and texture of your Tesla. Using authentic Tesla wraps ensures a precise fit and superior durability. Cut the wrap to size, allowing extra material for blending into existing paintwork.
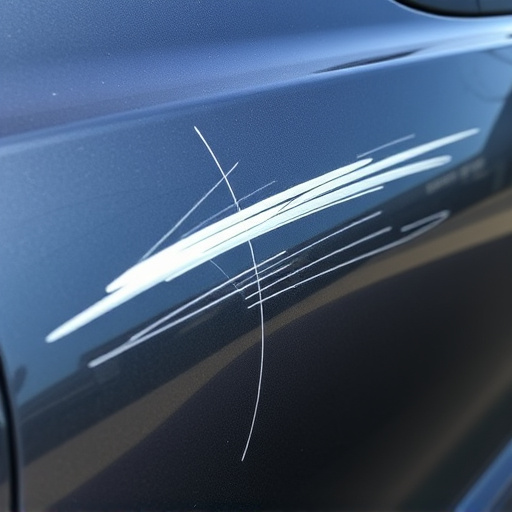
3. Application: Start applying the wrap, starting from one edge and working in sections. Use professional-grade adhesive and ensure even pressure as you go. Smooth out any bubbles or wrinkles with a specialized tool. This step demands precision to avoid visible lines or gaps.
4. Blending and Trim: Once the wrap is applied, carefully blend the edges into the surrounding paintwork using a razor knife or blending tools. Ensure a crisp finish where the wrap meets the original body panels. Trim any excess material with clean cuts.
5. Finishing Touches: After the adhesive has set, inspect your work for any imperfections. Use fine-grit sandpaper to smooth out any rough edges and ensure a perfect blend. Finally, apply a protective coat of clear coat to seal the wrap, enhancing its durability and resistance to fading or damage.
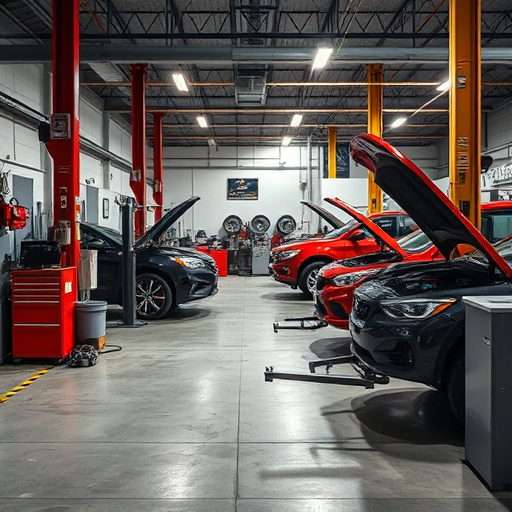
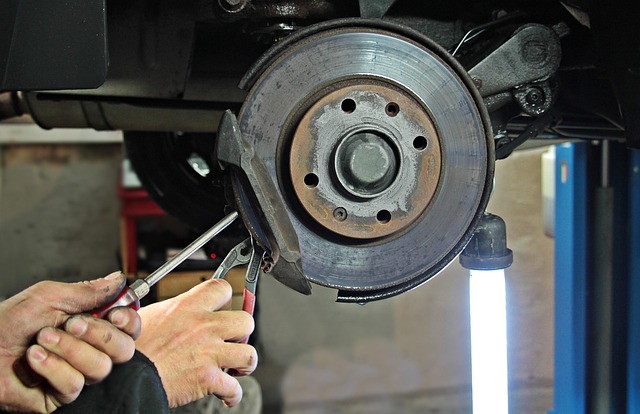
For complex car collision repairs or extensive vehicle restoration projects, consider enlisting professional help from experienced vehicle repair services.
Tesla wrap repair is not just about fixing damage; it’s about preserving the vehicle’s original aesthetic. By understanding the repair process and choosing the right materials, you can achieve a flawless match that keeps your Tesla looking as vibrant and innovative as the day it left the factory. Following professional techniques ensures a durable fix, allowing you to continue enjoying your electric ride with peace of mind.