
Tesla wrap repair is a specialized process using vinyl to protect and enhance Tesla vehicles' exteriors. It involves selecting high-quality, UV-resistant vinyl, meticulously preparing the surface, and applying the wrap with precision tools for a seamless finish. This technique preserves aesthetics and value, offering both durability and color accuracy to match the original Tesla finish.
“Looking to master Tesla wrap repair like a pro? This guide is your compass. We’ll navigate you through the fundamentals of Tesla wrap repair, equipping you with the knowledge to choose the perfect vinyl for an expert-level match. From understanding the basics to a detailed step-by-step process, this article ensures you tackle repairs with confidence. Uncover the secrets to achieving seamless, durable results that rival factory finishes.”
- Understanding Tesla Wrap Repair Basics
- Choosing the Right Vinyl for Matching
- Step-by-Step Guide to Expert Matching
Understanding Tesla Wrap Repair Basics
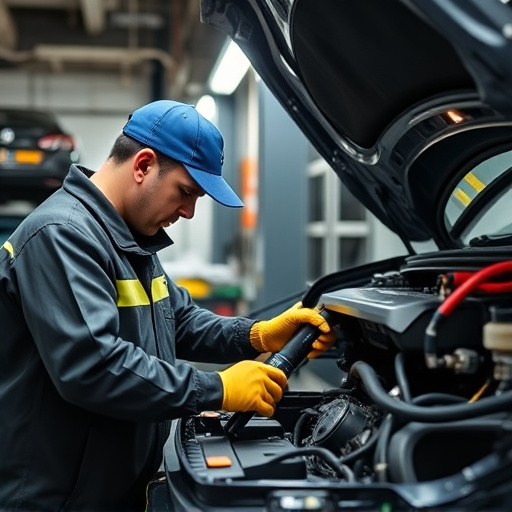
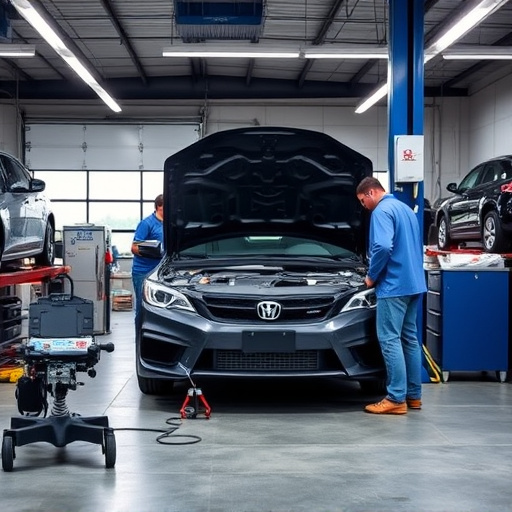
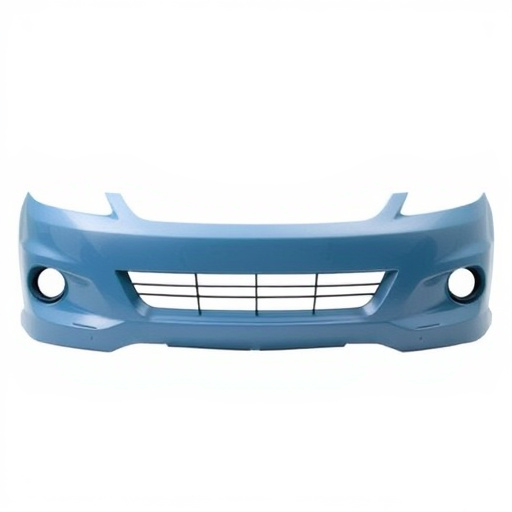
Tesla wrap repair is a specialized process that involves applying a thin layer of vinyl material to protect and enhance the exterior of a Tesla vehicle. This technique has become increasingly popular among car enthusiasts due to its ability to transform the look of a car while offering long-lasting durability. The basics of Tesla wrap repair start with understanding the different types of vinyl available, each with unique properties like texture, color, and sheen. Proper preparation of the vehicle’s surface is crucial; it includes cleaning, decontaminating, and ensuring the paint is in pristine condition before applying the wrap.
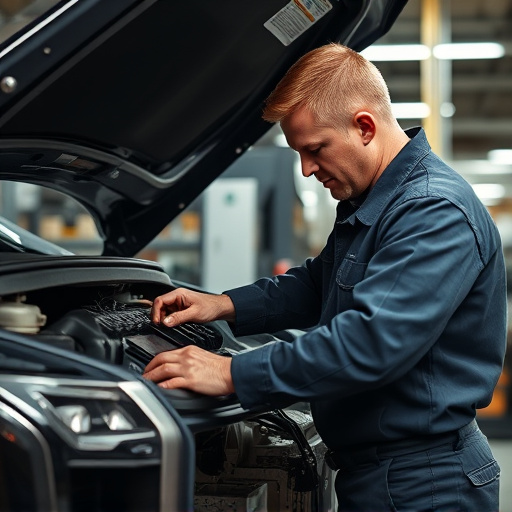
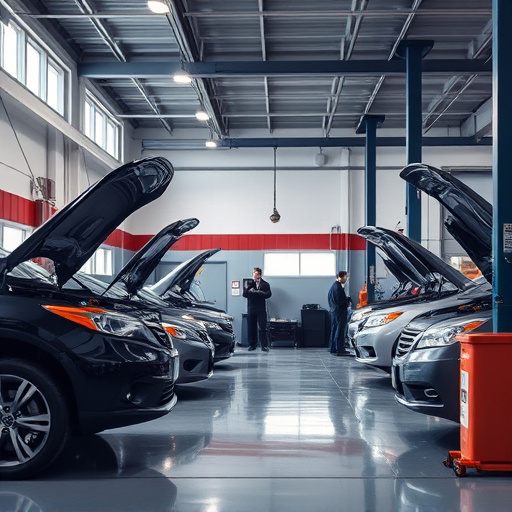
The process itself requires precision and skill. The vinyl material is cut to fit specific contours of the car body and then carefully applied, often with the help of professional tools and heat guns. Experts in automotive repair, particularly those specializing in auto body repair and collision repair, use their expertise to ensure a seamless finish that matches the vehicle’s original appearance. Choosing the right vinyl and applying it correctly is key to achieving a perfect match, preserving not just the aesthetics but also the value of the Tesla.
Choosing the Right Vinyl for Matching
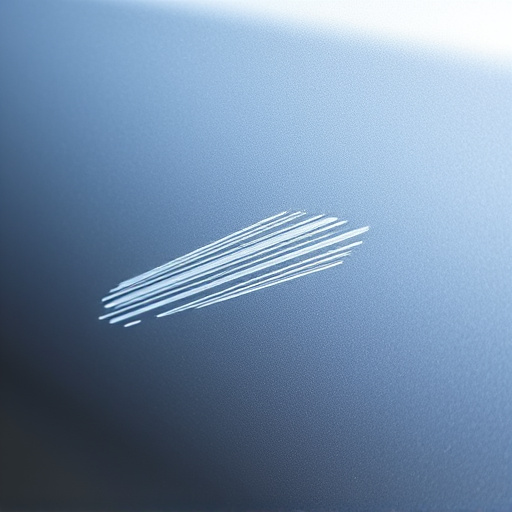
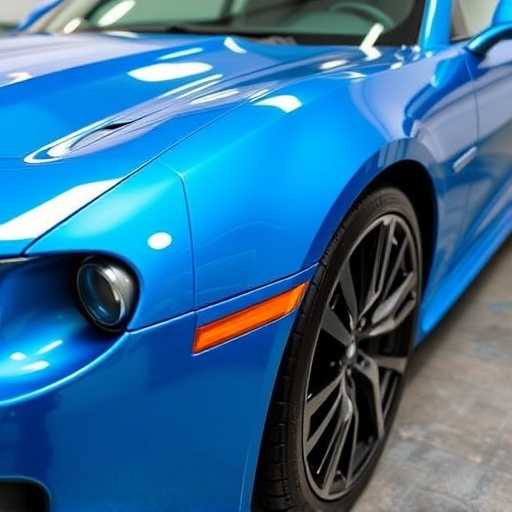
When it comes to Tesla wrap repair, selecting the perfect vinyl for a seamless match is paramount. It’s not just about choosing a colour that resembles your car’s original finish; the right vinyl must also consider the material’s properties to ensure durability and longevity. The last thing you want is a patch that becomes a target for scratches or fades differently from the rest of the vehicle.
For an effective Tesla wrap repair, look for vinyl with high-quality construction, excellent colour consistency, and UV resistance. These features prevent premature fading and ensure your bumper repair or automotive body work stands the test of time. Remember, auto maintenance isn’t just about fixing what’s broken; it’s also about preserving the beauty and value of your vehicle.
Step-by-Step Guide to Expert Matching
Matching vinyl for Tesla wrap repair requires a meticulous approach to ensure the repaired area seamlessly blends with the surrounding surface. Here’s a step-by-step guide to expert matching:
1. Inspect and Prepare: Begin by thoroughly inspecting the damaged area, noting its size, shape, and depth. Remove any debris or loose material from the dented or scratched section. This ensures a clean canvas for your repairs, enabling precise color matching.
2. Choose the Right Vinyl: Select a vinyl that closely matches the original Tesla wrap in terms of texture, shade, and finish. When dealing with cars like Teslas known for their unique colors and finishes, accuracy is paramount. Consider factors like base color, clear coat thickness, and UV protection to ensure the repair mimics the original as closely as possible.
3. Color Matching: Use advanced color-matching tools or a spectrophotometer to accurately gauge the color of the damaged area. Compare this with the vinyl you’ve chosen. This scientific approach ensures minimal variation between the repair and the original wrap, making it less noticeable upon completion.
4. Apply and Blend: Carefully apply the matching vinyl using expert techniques. Smooth it out evenly, paying attention to contours and edges. The blend should be seamless, with no visible gaps or lines where the new vinyl meets the existing surface. This step demands patience and precision for optimal results.
5. Final Touches: Once the vinyl is in place, inspect your work under different lighting conditions. Make fine-tuning adjustments as necessary to ensure complete harmony between the repair and the car’s original finish. Remember, achieving expert-level matching involves a keen eye for detail at every stage of the process.
When it comes to Tesla wrap repair, matching the vinyl perfectly is key to achieving a professional, factory-like finish. By understanding the basics of Tesla wrap repair and following a step-by-step guide for expert matching, you can ensure your car looks as good as new. Choosing the right vinyl is half the battle won; with the right tools and techniques, you’ll be able to expertly match and repair any damage, preserving the vehicle’s aesthetic appeal.