

Tesla wraps offer great protection but are susceptible to edge lifting, partial tears, and dents from everyday wear. While minor issues can be addressed at home with the right kit (adhesive, tape, tools, safety gear, guide), significant damage like large tears or complex shapes needs professional auto collision repair experts for precise Tesla wrap repair. For DIY repairs, follow a step-by-step process: clean and sand, apply primer, patch and paint with matching Tesla wrap/paint kit, lightly sand after painting, and finish with clear coat for long-lasting protection.
Considering a DIY approach to fix your Tesla’s scuffed or dinged wrap? You’re not alone. Tesla wrap repairs, while seemingly daunting, can often be accomplished at home. This guide breaks down the process, from identifying damage to common issues and the tools you’ll need. Learn how to tackle minor imperfections and restore your Tesla’s glossy finish without breaking the bank or leaving your garage.
- Understanding Tesla Wrap Damage and Common Issues
- Tools and Materials Required for DIY Repair
- Step-by-Step Guide to Fixing Minor Scuffs and Dings at Home
Understanding Tesla Wrap Damage and Common Issues

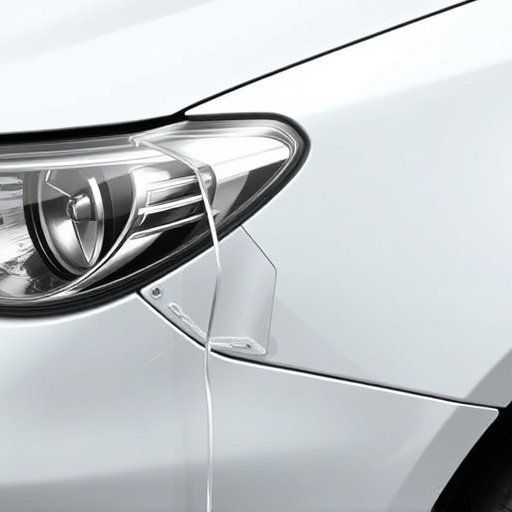
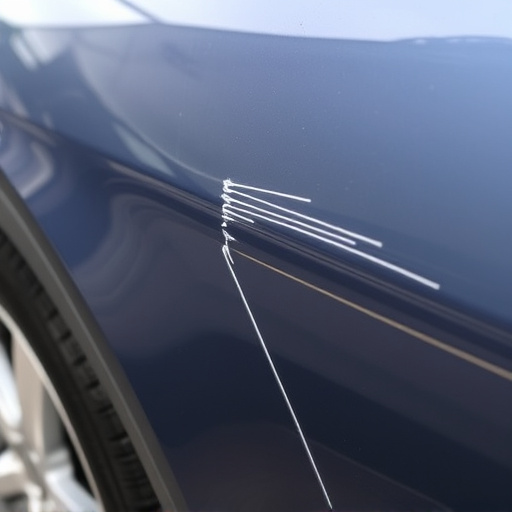
Tesla wraps, known for their sleek and protective properties, can sustain damage from various sources like minor crashes, chips, scratches, or even exposure to harsh weather conditions. Understanding common issues is crucial when considering Tesla wrap repair at home. One of the most prevalent problems is edge lifting, where the edges of the wrap start to peel back, often due to temperature changes or poor initial application. Another frequent issue is partial tears or holes caused by objects like tree branches or bird droppings.
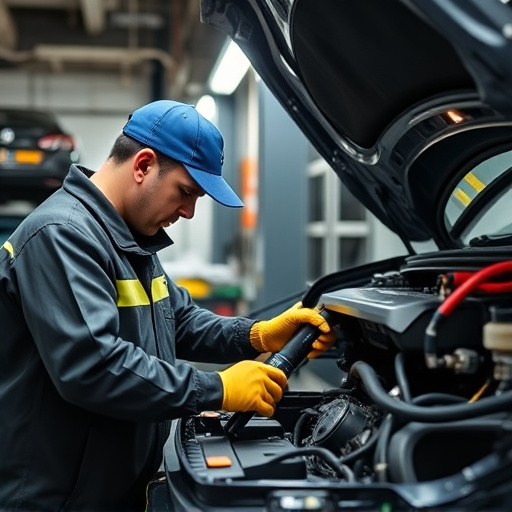
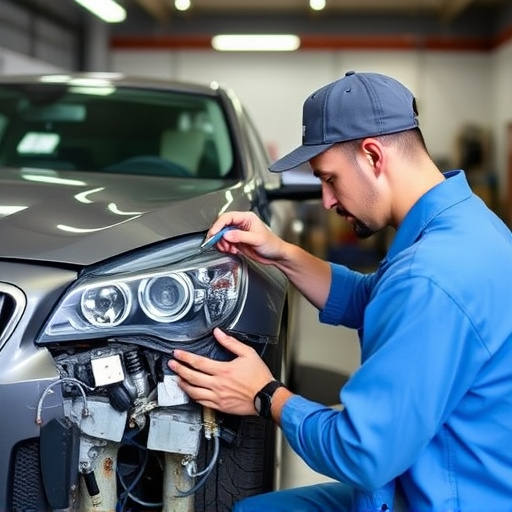
Beyond these, curbs or other obstacles can result in small dents or dings that might not affect performance but are noticeable cosmetic concerns. For car repair services involving more significant damage, such as large tears or complex geometric shapes, auto collision repair experts are better equipped to handle the intricacies of Tesla wrap repairs, ensuring a precise and professional outcome.
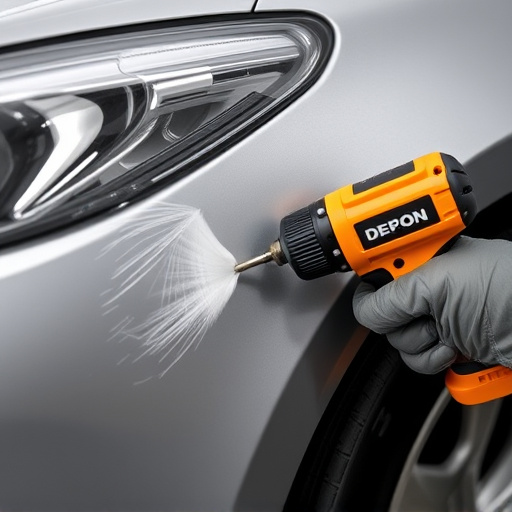
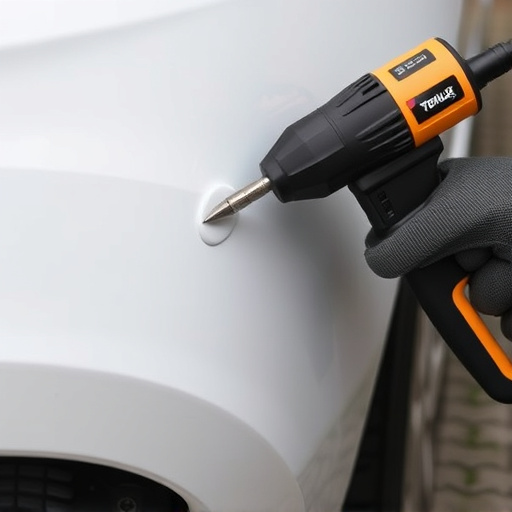
Tools and Materials Required for DIY Repair
To attempt a Tesla wrap repair at home, you’ll need a specific set of tools and materials tailored for this specialized task. Firstly, gather high-quality car wrap repair kits that include adhesive, tape, scissors, and applicator tools designed specifically for automotive wraps. Additionally, ensure you have access to a variety of brushes, cloths, and cleaning solutions to prepare the damaged area effectively.
Proper preparation is key in car body repair, especially when dealing with delicate materials like Tesla wraps. You’ll also require safety gear such as gloves and goggles to protect yourself from adhesive fumes and debris during the repair process. Lastly, consider having a reference guide or tutorial at hand to ensure you’re applying the repairs accurately, mimicking the professional work of an auto collision center for optimal results in your DIY Tesla wrap repair endeavor.
Step-by-Step Guide to Fixing Minor Scuffs and Dings at Home
Fixing minor scuffs and dings on your Tesla wrap at home can be a cost-effective solution for quick touch-ups. Here’s a step-by-step guide to ensure the best results:
1. Prepare the Area: Start by thoroughly cleaning the damaged area with a soft cloth and a suitable cleaner to remove any dirt, grease, or residue. This ensures proper adhesion of the repair material.
2. Sand Lightly: Using fine-grit sandpaper, gently sand the scuffed or dinged area until the surface is even. Be careful not to overdo it; just enough to smooth out the imperfection is sufficient.
3. Apply Primer: After sanding, use a high-quality automotive primer specifically designed for Tesla wraps or similar vehicle finishes. Allow the primer to dry completely according to the manufacturer’s instructions.
4. Patch and Paint: Cut a small piece of Tesla wrap (or a matching paint touch-up kit) to fit the damaged area. Apply an even coat of paint, following the color code guidelines for your Tesla model. Let it dry, then sand lightly again for a smooth finish. Finally, apply a clear coat to protect the repair and ensure long-lasting results.
5. Inspect and Repeat: Step back and inspect your work under natural light. If any imperfections remain, repeat the process until satisfied with the outcome.
While Tesla wrap repairs can be tackled at home for minor scuffs and dings, more significant damage may require professional attention. Having the right tools and materials is essential for DIY success. By understanding common issues and following a structured guide, car owners can save time and money on Tesla wrap repair, ensuring their vehicles maintain that new, protected look.