

For efficient Tesla wrap repairs, invest in specialized tools like scrapers, knives, and adhesive removers to lift damaged material and remove old glue. Proper preparation allows for professional-grade repairs minimizing extensive dent techniques. Minor damage can be addressed with simple tools, while more extensive issues require professional-grade kits and adhesives. Field repairs for minor issues are efficient, but extensive damage should be consulted with a professional for optimal Tesla wrap repair results.
“Ensure your Tesla’s sleek, protected exterior stays in top condition with this comprehensive guide to essential Tesla wrap repair essentials. Learn about the must-have tools for on-the-go repairs and identify common damage issues with quick fix solutions. From scuffs to scratches, master the step-by-step process for field repairs, enhancing your vehicle’s appeal. Discover the key to maintaining your Tesla’s protective wrap, boosting its resale value and preserving its stunning finish.”
- Essential Tools for Tesla Wrap Repairs
- Common Wrap Damage and Quick Fixes
- Step-by-Step Guide to Field Repairs
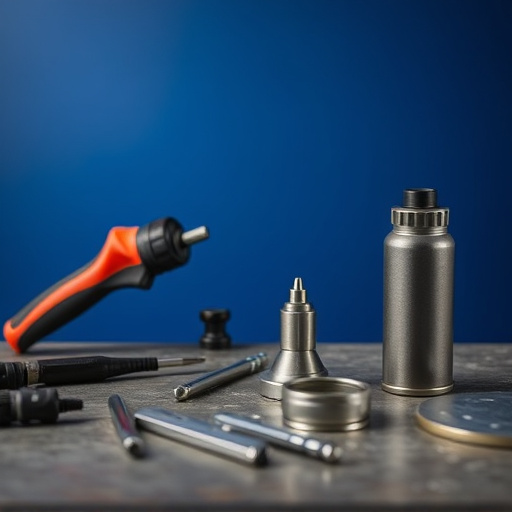
Essential Tools for Tesla Wrap Repairs

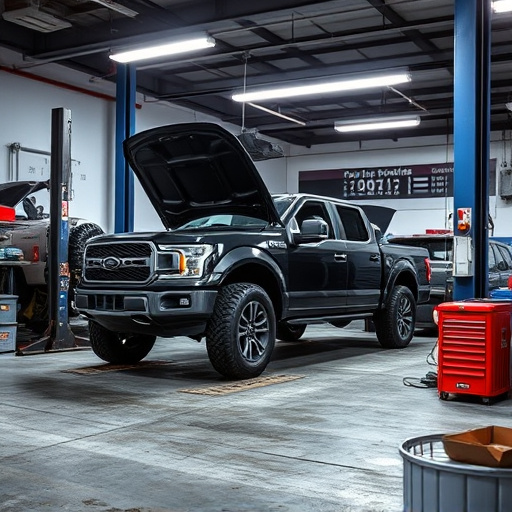
When it comes to Tesla wrap repairs, having the right tools is paramount. The process demands precision and a keen eye for detail, making specialized equipment essential. For starters, you’ll need a comprehensive set of scrapers and knives designed specifically for automotive wraps. These tools enable you to carefully lift and remove any damaged or loose wrap material without causing further harm to the underlying surface.
Additionally, invest in high-quality adhesive removers tailored for vehicle bodywork repairs. These products are crucial for clearing away old glue residue, ensuring a clean canvas for new wrap applications. Remember, proper preparation is key to achieving professional-grade Tesla wrap repairs, comparable to those from autobody shops, with minimal need for extensive vehicle dent repair techniques.
Common Wrap Damage and Quick Fixes

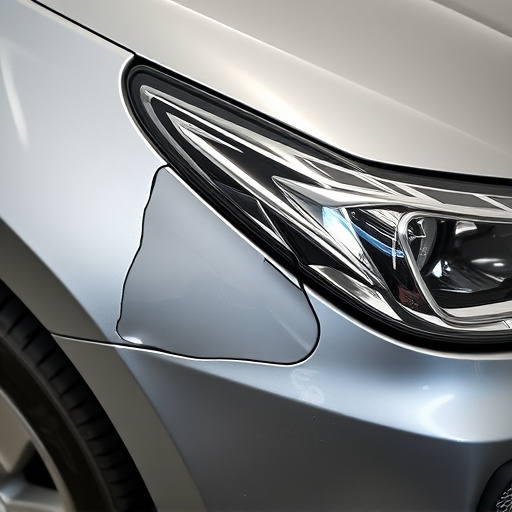
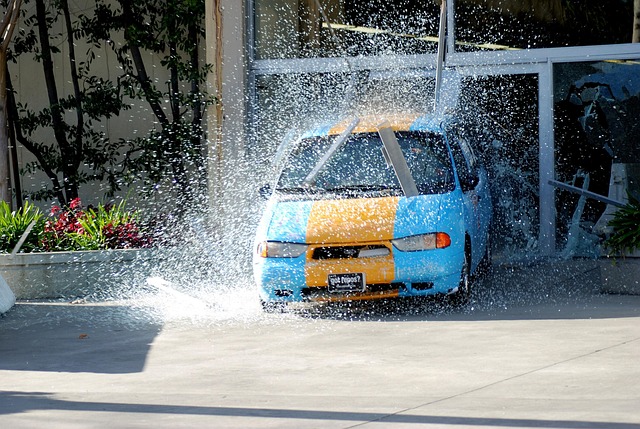
The sleek and modern exterior of a Tesla is no stranger to accidents. From minor dents caused by parking mishaps to more significant damage from road debris, wrap repairs are an essential part of maintaining your electric vehicle’s stunning aesthetics. Common issues include small scratches, chips, and dings that can be swiftly addressed with the right tools and materials.
For minor dents and scratches, a simple dent removal kit or a set of high-quality filler rods can be used for quick fixes. These tools allow you to reshape the damaged area and then fill it in, creating a seamless repair. For more extensive damage like cracked or missing wraps, professional-grade fender repair kits are necessary. These kits often include specialized adhesives and reinforced materials designed specifically for Tesla wrap repair, ensuring a durable and long-lasting fix that complements your vehicle’s classic car restoration efforts.
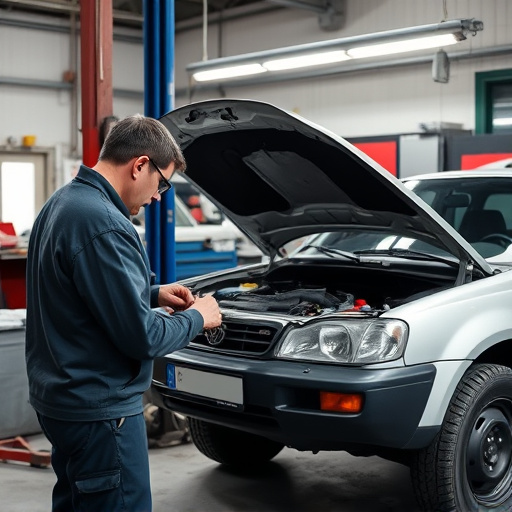
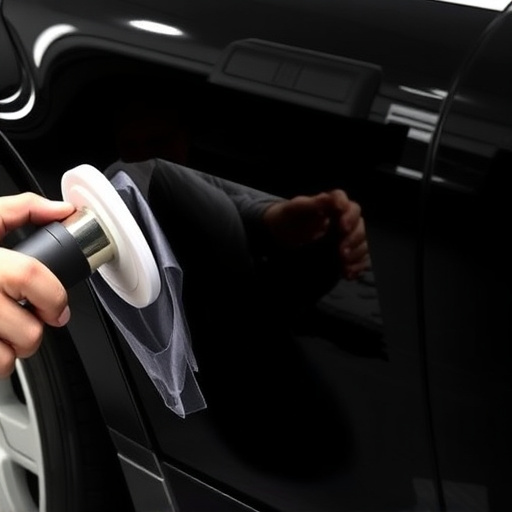
Step-by-Step Guide to Field Repairs

Performing field repairs for Tesla wrap damage can be a quick and efficient way to address minor issues before they escalate. Here’s a step-by-step guide for tackling Tesla wrap repair on the go. Start by thoroughly inspecting the damaged area, identifying any tears, bubbles, or delaminations. Clean the surface with a dedicated automotive cleaner to ensure no debris or contaminants remain. Next, gather your essential tools and materials: a high-quality Tesla-compatible wrap film, precision scissors, a heat gun (or hair dryer), and an applicator tool. Cut the wrap film to size, ensuring it’s slightly larger than the damaged area. Using the heat gun, warm up the surface of the existing wrap for easy application. Carefully peel back the protective backing and press the new wrap into place, smoothing it out with the applicator tool. Trim any excess material, leaving a neat finish. For more extensive damage or complex repairs, consider seeking professional help or consulting a specialized Tesla body shop to ensure optimal results in vehicle collision repair and car paint repair.
When it comes to Tesla wrap repairs, being prepared is key. With the right tools and knowledge of common damage issues, you can handle minor fixes on the go. Our guide equips you with essential tools and a step-by-step process for field repairs, ensuring your Tesla’s wraps stay in top condition. Remember, prompt action on minor damages can prevent them from becoming more severe, saving you time and money in the long run.